You found the perfect model, but now you want to add your own personal touches to it or maybe it’s not perfect but only needs a simple modification to make it perfect. In this article we will guide you step-by-step on how to add a logo to your model for free.
Getting started
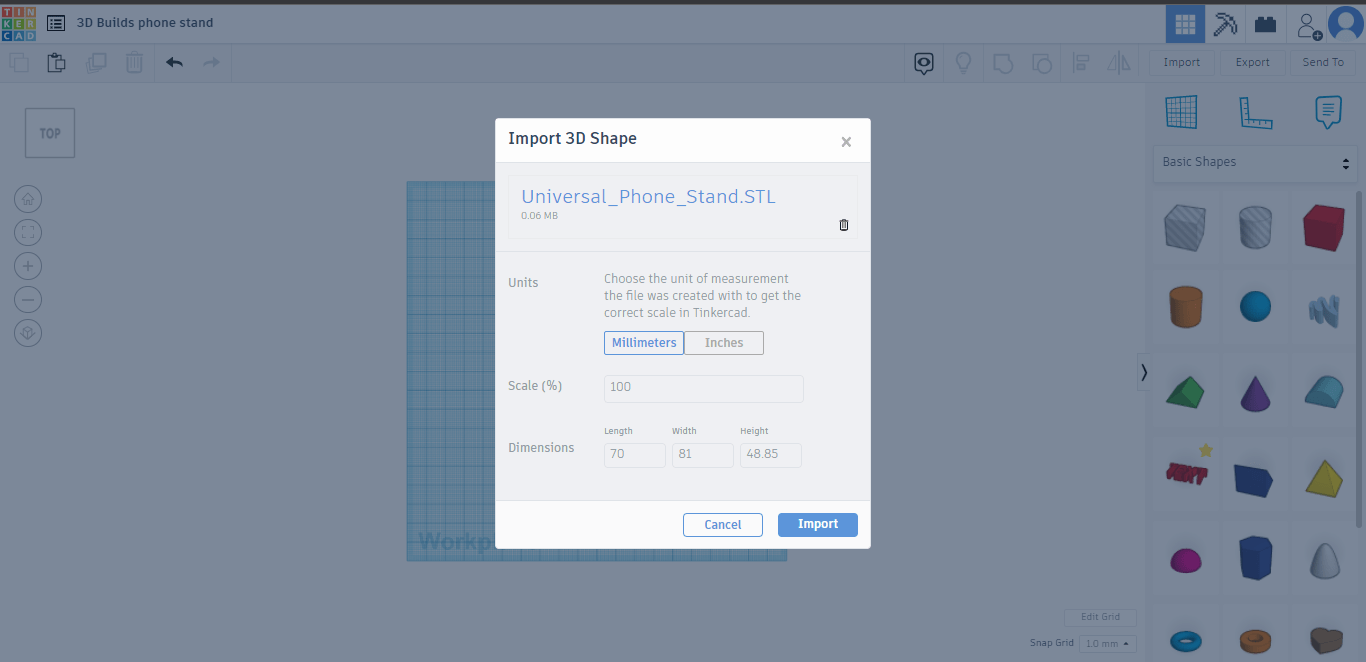
Firstly head over to TinkerCAD on your PC or Tablet. Create an account, sign up/log in and click “create new design”. You will then be taken to a blank workspace. The right tab has a bunch of different shapes you can drag and drop into the workspace. For this Tutorial we will be editing a Universal Phone stand from Thingiverse. Once you have the model click the IMPORT button on the top right(above the shape tab), it will then appear in your workspace.
Blank Workspace
Importing file
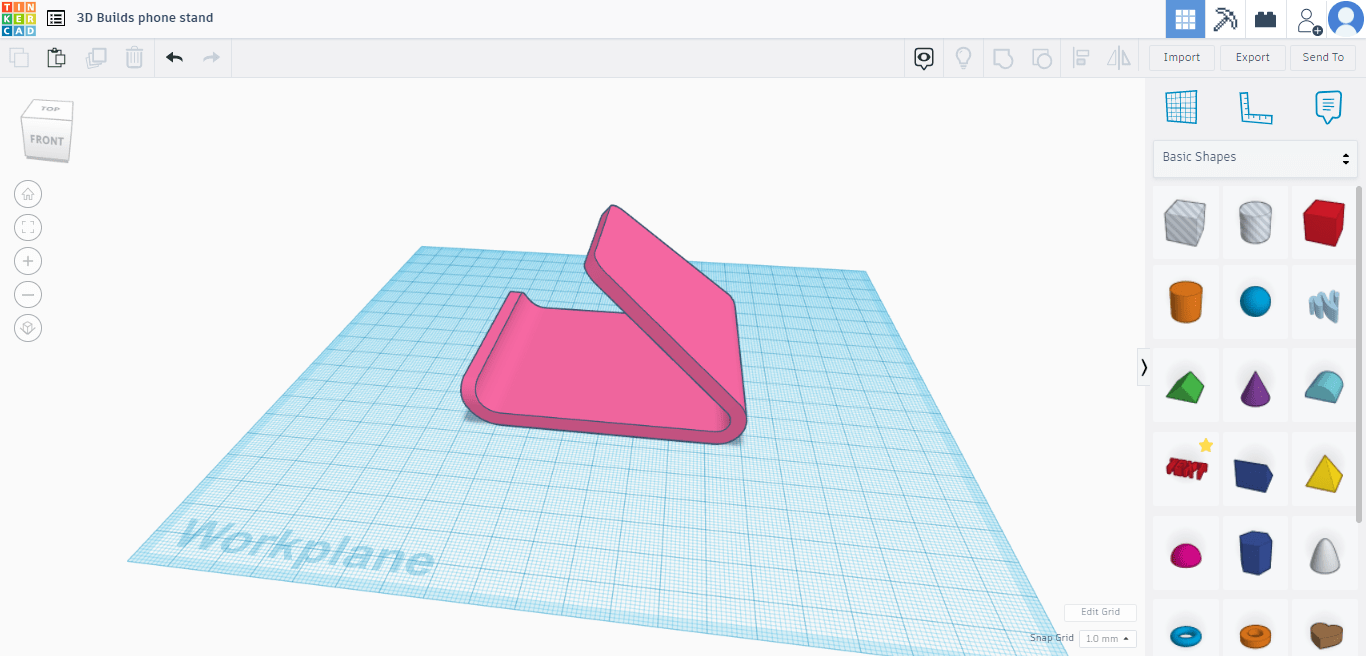
Imported file
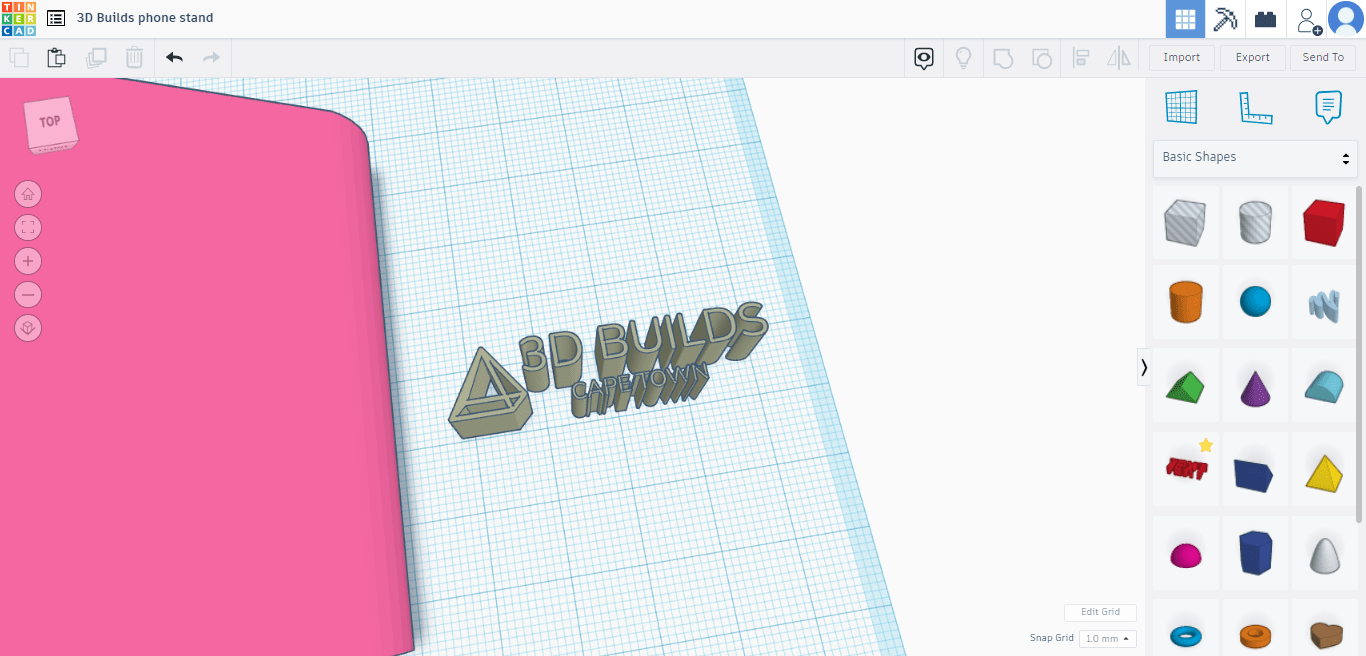
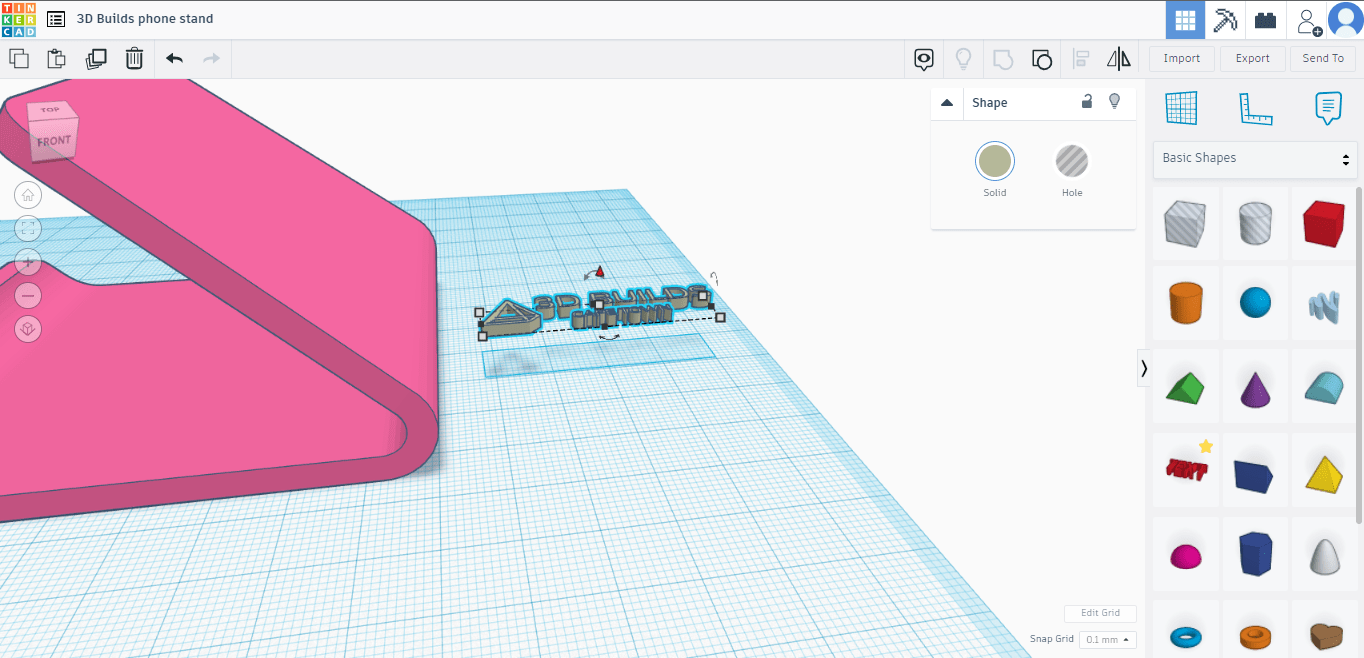
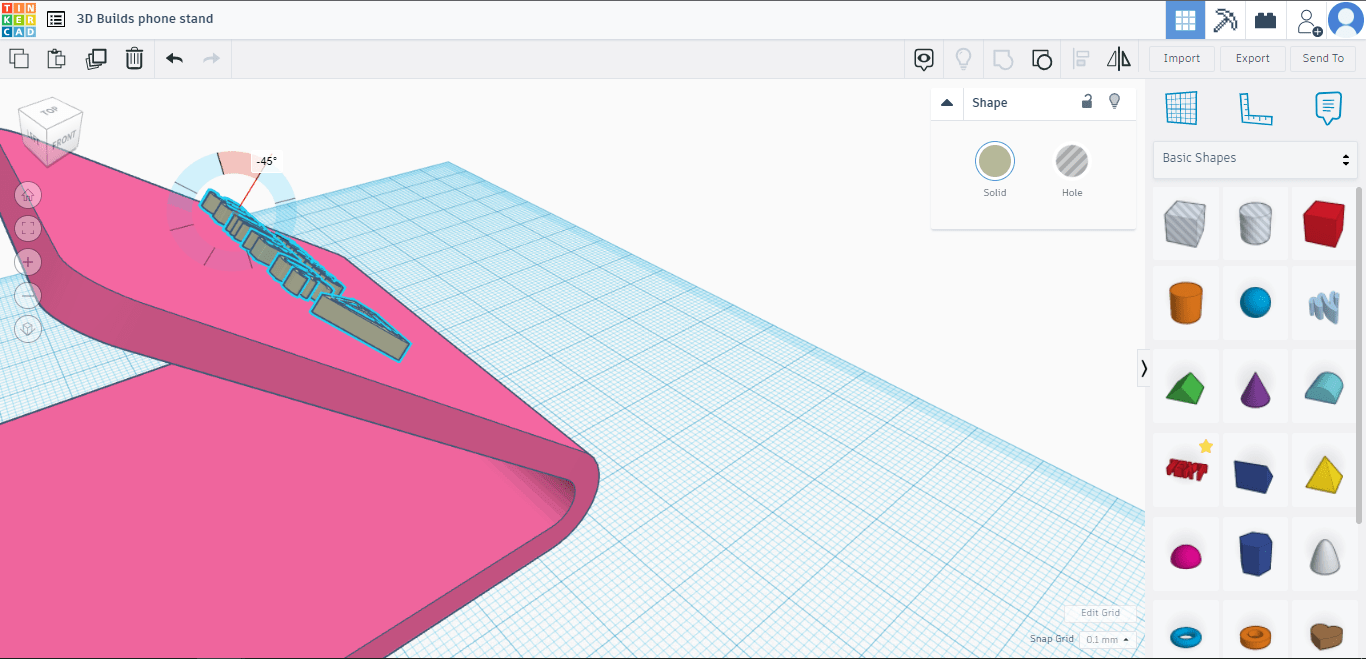
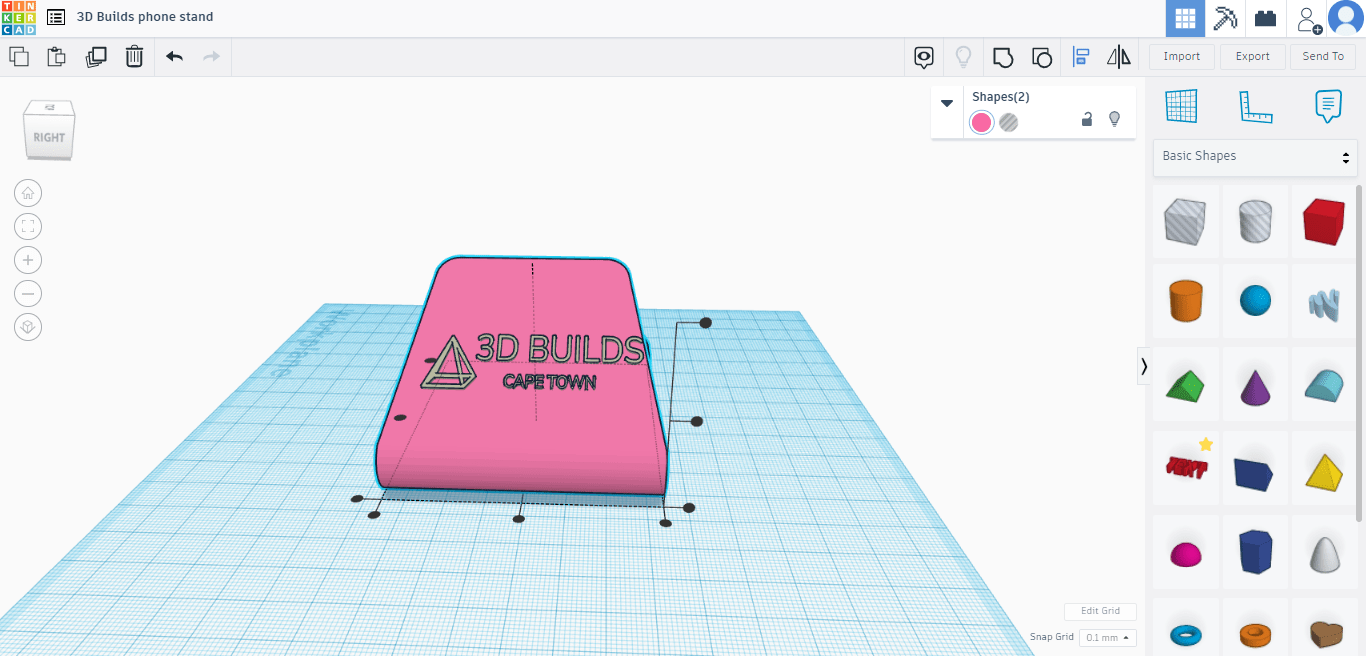
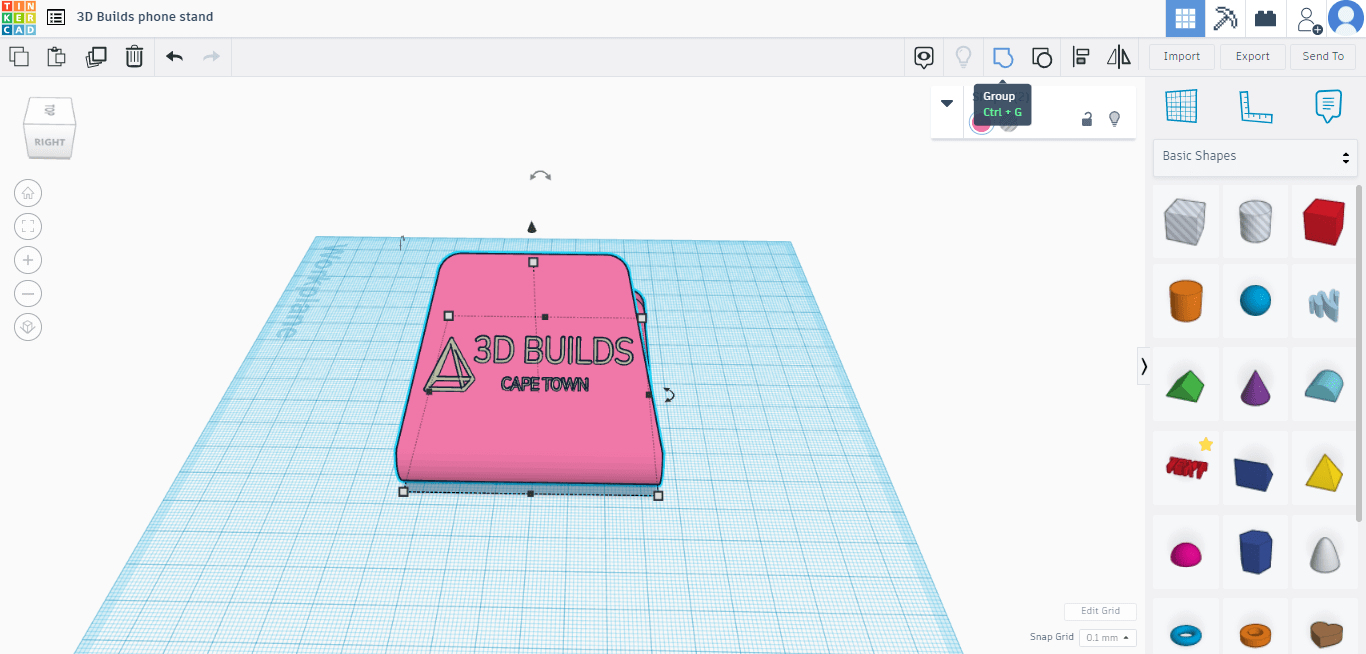
Now that you have the model in your workspace, it is recommended to change your “snap grid”(located at the bottom right) from 1mm to 0,1mm. This will allow you to make more precise changes. You can resize the model if necessary by clicking on it and dragging one of the white or black little squares. In this instance we won’t be changing the size of the model. Next step is to import our logo(or any image). If your image or logo is in JPG format you will need to convert it to a SVG. Import the SVG into your workspace using the same method used to import the model. Click on the logo and resize it using the white/ black boxes and change its vertical height to 2mm. With the logo selected, you can rotate it using the black semicircle arrows, if it is lying flat rotate it vertically to 41°. Clicking and dragging the little black triangle/cone to change its vertical location in the workspace, take it to roughly the mid point of the model. Here comes the hardest part, move either the model or the logo using your arrow keys on your keyboard, get the logo roughly 50% in the model and 50% sticking out. Highlight both the model and the logo(or push CTRL + A), use your align tool on the top right bar and position the logo in the center of the model, once you are satisfied, highlight all your work and click the “group” button at the top right bar(or CTRL + G), this will make all your bond the elements and it will become one model.
Finishing touches
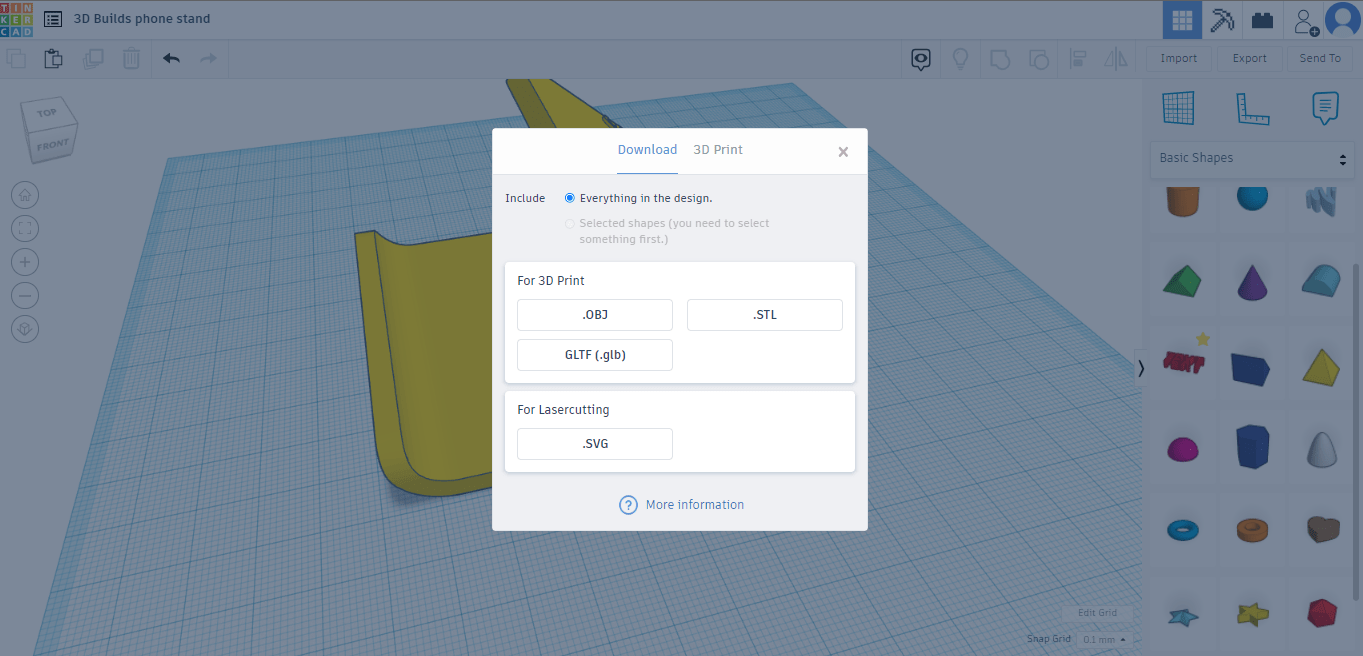
If you’re happy with what you have thus far, click the export button on the top right bar, select STL and your model will download.
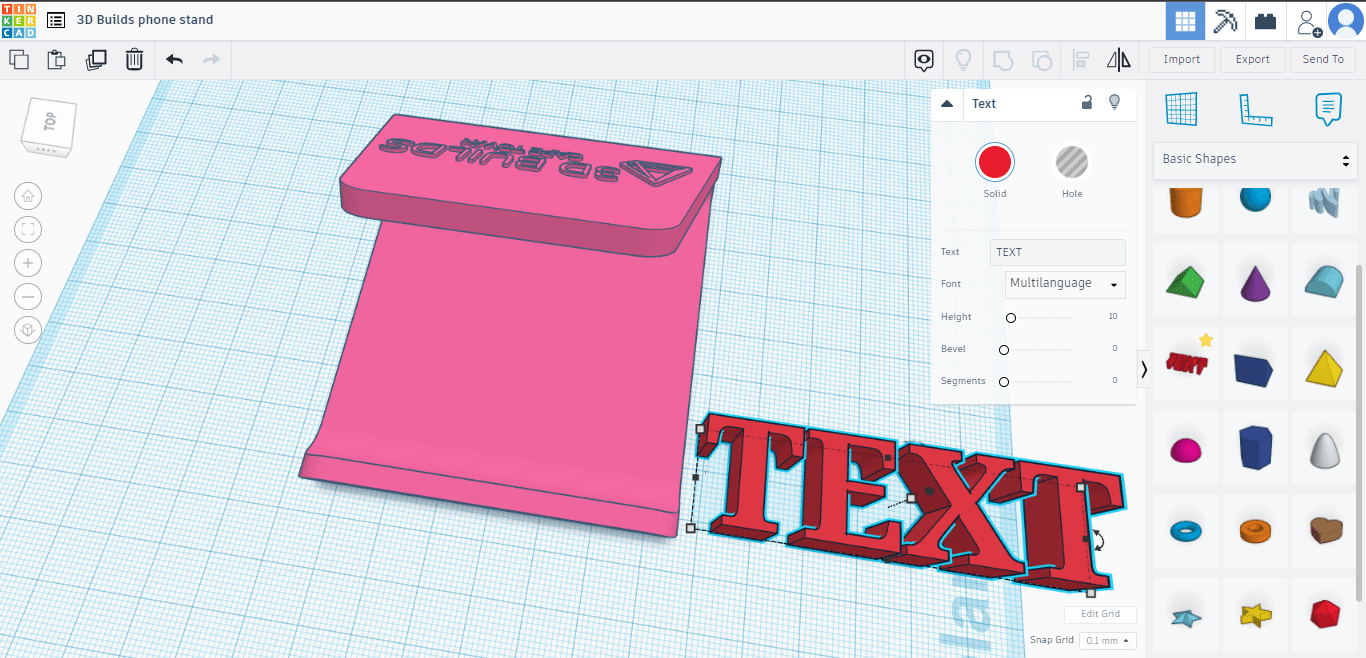
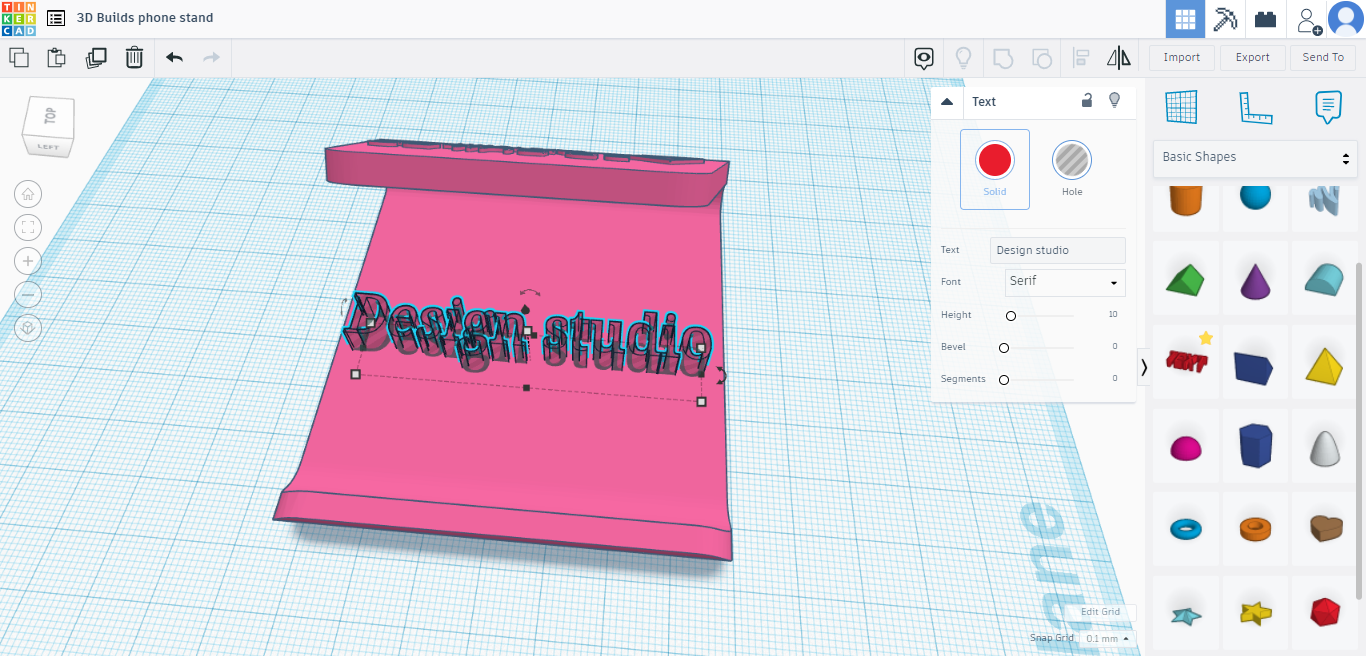
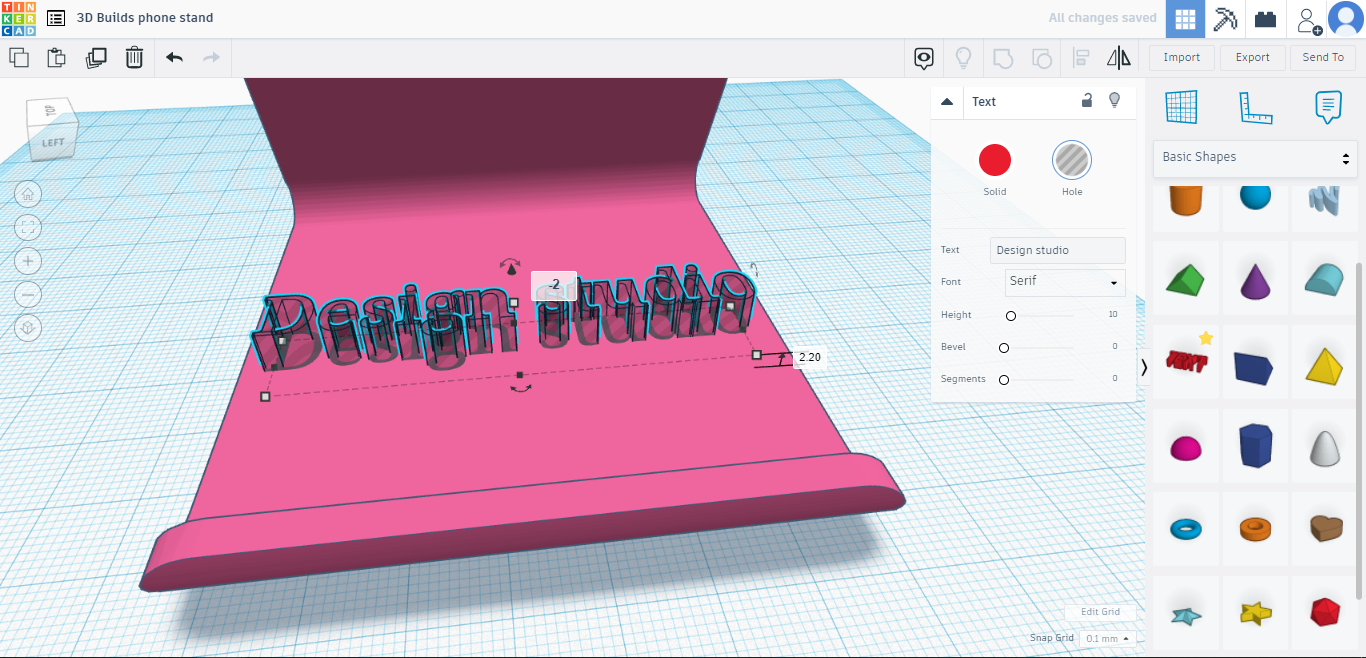
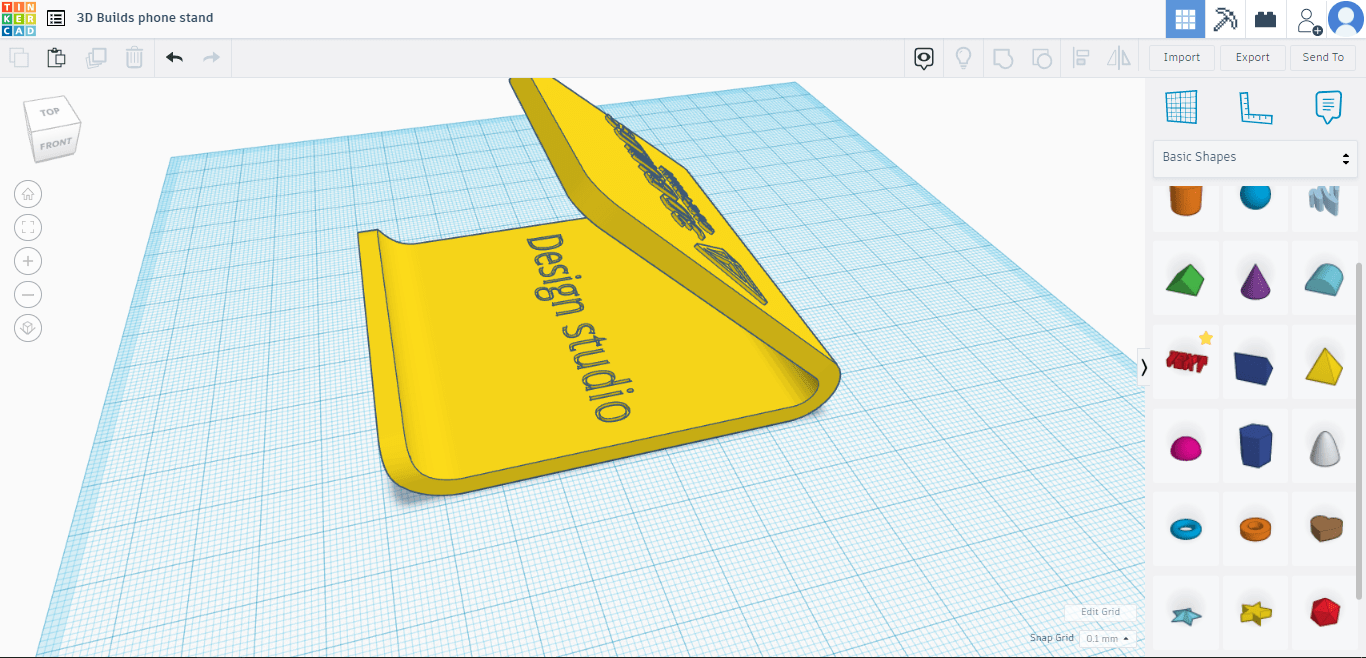
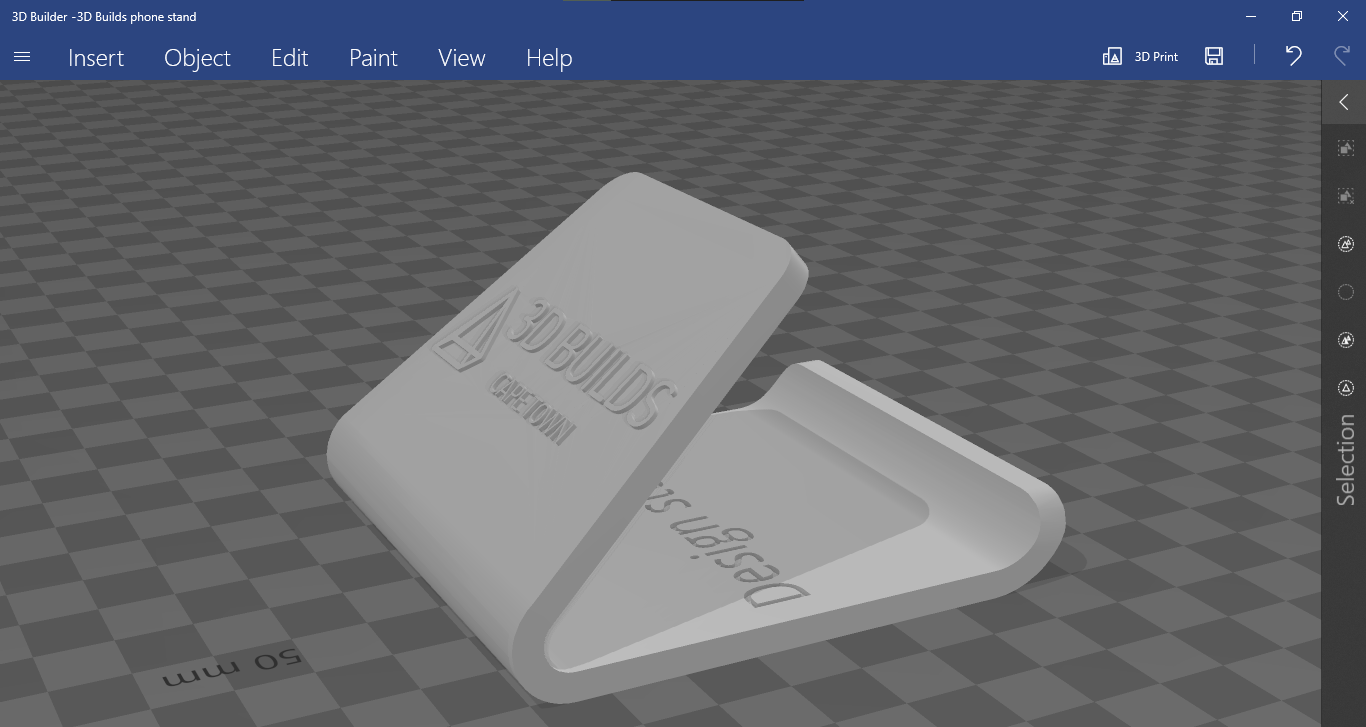
If you would like to add text inlay with a personal message click the “text” option in the right had toolbox with all the shapes(under basic shapes). With “text” selected there will be a pop-up box where you can change the text to whatever you’d like, change the font and importantly, you can change it from a solid to a hole. In this instance we will type in “design studio” as this is where our phone stand will live. Rotate and resize if necessary using the methods discussed earlier, move it to where you would like it on the base of the model, then raise is by at least 2mm(the base is 4mm thick). Align if necessary then group all the elements(CTRL+A, CTRL+G). Now click export on the top right bar, select STL and your model will download. If you’re using a PC with Windoows 10, you can open 3D Builder(available from the Microsoft store if not preinstalled) to view your model. If you would like us to print your model please click the button below.